Choosing Between 2D Aerial Maps and 3D Models for Construction Planning
Why the format of your site data matters
Every construction project starts with a clear picture of the land. Over the past decade, drones have made that picture far more detailed and more frequent than traditional surveying allowed. But once the drone flies and the images are captured, a question arises: should you work with a flat aerial map or a three-dimensional model? The answer depends on what you need to see, who needs to see it, and at what stage of the project you are.
Both formats start from the same raw data - overlapping photographs taken from a drone. The difference lies in how that data is processed and what it reveals. An orthomosaic map stitches hundreds of individual photos into a single, geometrically corrected image. It looks like a high-resolution satellite view, but every pixel is placed at its true ground position. A construction 3D model, by contrast, reconstructs the shape of every object on the site - the ground surface, stockpiles, building footprints, equipment, and partially built structures - as a digital surface or point cloud. Each format gives you a different kind of insight, and the best choice often changes as the project moves from earthworks to finishing.
What a 2D aerial map shows clearly
An orthomosaic map is, in essence, a perfectly scaled photograph of the site from above. Because it is geometrically accurate, you can take direct measurements from it - distances, areas, and perimeters - just as you would from a CAD drawing. For projects in early stages, that is often enough. Site boundaries, access roads, vegetation, and existing structures are all visible at a glance. You can overlay the map with proposed building footprints and check alignment without setting foot on the ground.
The real strength of the 2D map is its simplicity. It loads quickly on any device, does not require special software to view, and is easy to share with stakeholders who may not be familiar with 3D tools. A project manager can open a map on a tablet during a site walk, mark a wet area, and send a screenshot to the civil engineer. The same map can be printed at large scale for a site office wall. For routine progress tracking - has the excavator cleared that corner, is the haul road still dry - a well-made orthomosaic is often the fastest answer.
What a 3D model adds
A construction 3D model takes the same aerial images and adds depth. Instead of a flat photo, you get a digital twin of the site surface - every bump, trench, and slope represented as a network of points in three-dimensional space. With a 3D model you can measure volume, not just area. You can calculate how many cubic metres of fill are needed to raise a pad, or how much material has been removed from a cut. That kind of calculation is essential for earthworks, foundation design, and any job where the shape of the land changes.
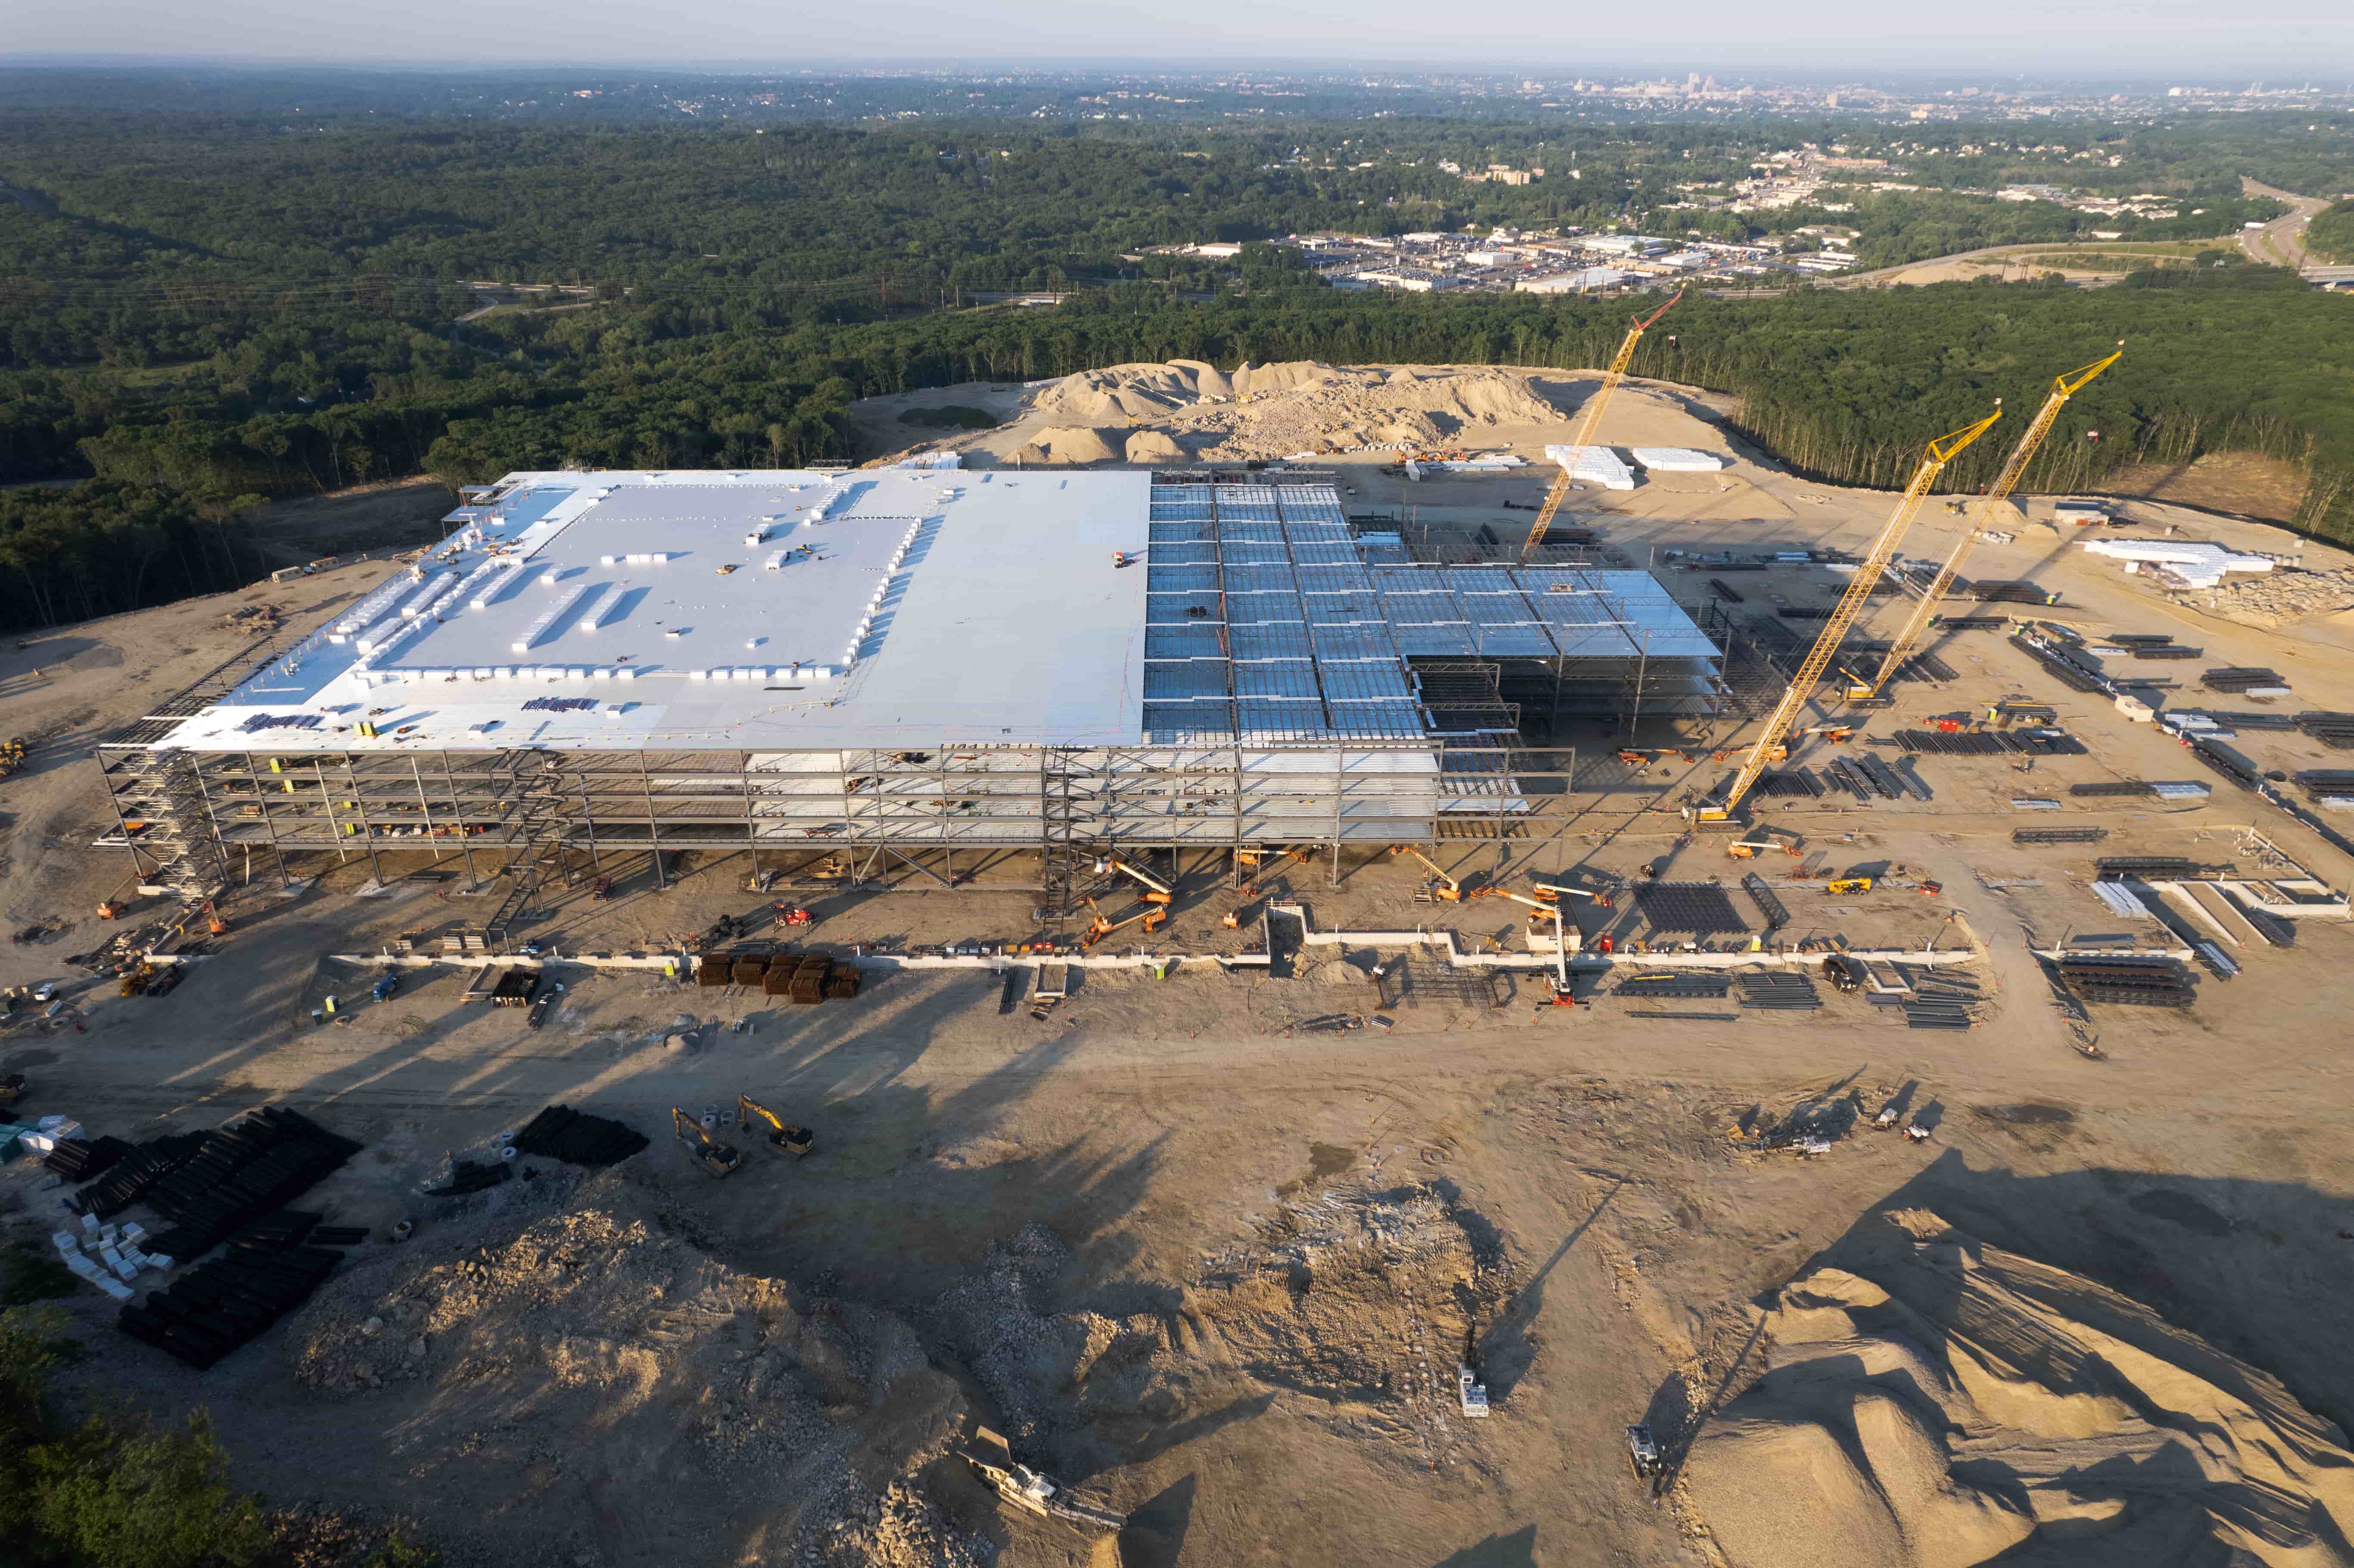
The model also gives you perspective. You can rotate the view, zoom in from any angle, and see how a new structure will sit relative to the existing terrain. For design reviews, this is invaluable. An architect can drop a proposed building into the model and check sightlines, drainage, and shading before any concrete is poured. The same model can be brought into BIM software, where it becomes one layer among many - structural, mechanical, electrical - all coordinated in a single environment.
When each format suits the job
For early site assessment and boundary verification, a 2D aerial map is usually the right choice. It gives you measurable views of the entire site in a format that everyone can read. You can confirm that the site matches the survey drawing, identify encroachments, and plan access routes without needing specialised software. The map is also the best record of what the site looked like before any work began - a baseline that can settle disputes later.
As soon as earthmoving starts, the 3D model becomes more useful. The first model after clearing and grading tells you how much material moved. A second model after subgrade preparation shows whether the surface is true to design. Volume calculations from these models are far more reliable than estimates from ground shots alone, because the drone captures thousands of points across the whole area. For cut-and-fill balance, for stockpile inventory, and for checking compaction progress, the 3D model is the tool to reach for.
During the building phase, both formats have a role. Weekly orthomosaic maps are excellent for tracking the spread of work - which foundations are poured, which walls are up, where materials are staged. They provide measurable views of the entire site that can be compared week to week to spot delays or deviations. The 3D model, updated monthly, lets the structural engineer check that the building core aligns with the design model, and that the ground floor slab sits at the correct elevation. Together they give the project team two complementary views of progress.
Practical considerations
File size and processing time differ between the two formats. A high-resolution orthomosaic of a large site can be several hundred megabytes, but it is a single image that any photo viewer can open. A 3D model in point-cloud or mesh form can run into gigabytes and may require dedicated software to view and measure. For fast decisions on a jobsite, the map wins. For deep analysis back in the office, the model wins.
Accuracy also differs. Both formats are georeferenced, but the 3D model captures vertical detail that the flat map cannot. If your site has steep slopes, retaining walls, or deep excavations, the model will show those features correctly while the map will only show them as tonal differences. On a flat site with simple geometry, the map may be all you need.
Combining both for the full picture
Most construction teams end up using both formats at different stages, or even simultaneously. A project portal that organises drone captures by date and format makes this practical. You can open the orthomosaic for a quick status check, then switch to the 3D model to measure a volume or inspect a tight spot. Having both from the same flight means they are perfectly aligned - the model and the map share the same coordinate system and the same moment in time.
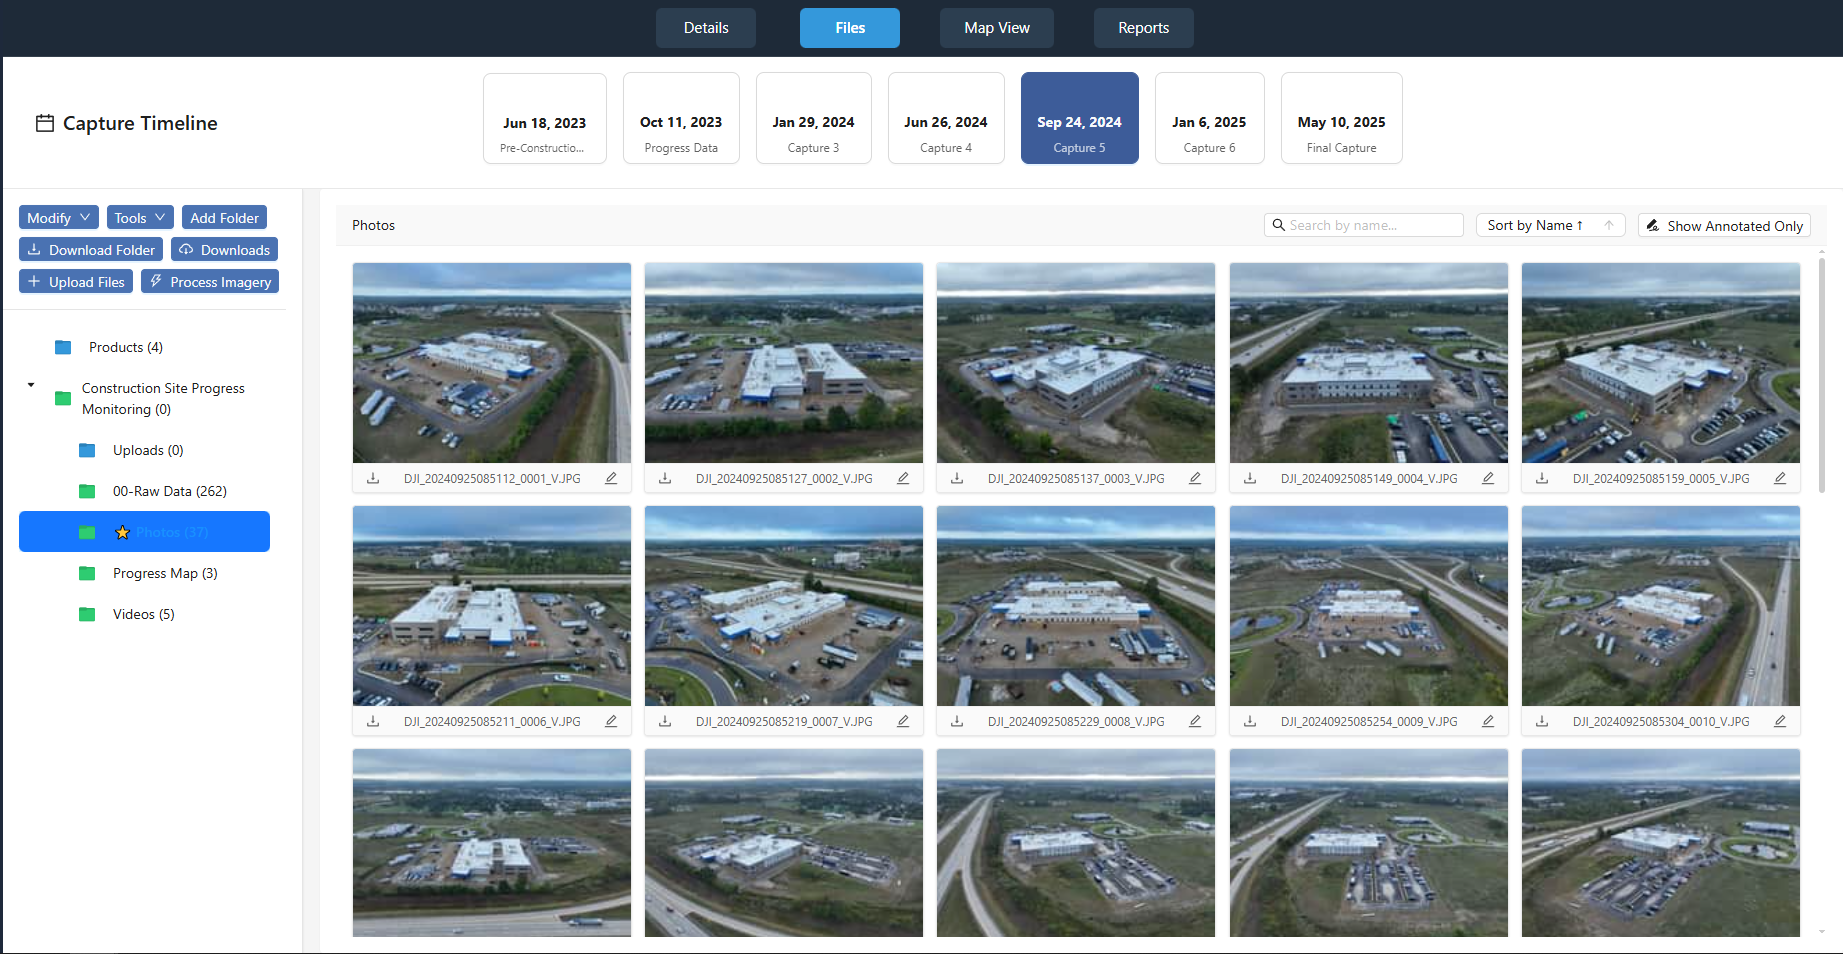
For progress reporting to owners or regulators, the 2D map is often the clearest communication tool. It shows exactly what is happening where, without the need to interpret a point cloud. For internal coordination among engineers and superintendents, the 3D model supports the detailed analysis that keeps the job on spec. The choice is not really between one format and the other. It is about matching the format to the question you need to answer at that moment.
Making the call on your next project
Start by asking what decisions will be made from the data. If the main need is to confirm that work is progressing as planned and to share that with a broad team, 2D aerial maps are the practical default. If the project involves significant earthwork, complex grading, or structural alignment, invest in 3D models from an early stage. In practice, many projects benefit from a cadence - a weekly orthomosaic for overall tracking and a monthly 3D model for detailed analysis. That rhythm keeps everyone oriented while giving the technical team the depth they need.
The key is to plan the data capture so that both formats are possible from the same flight. That means overlapping images with enough side-lap and forward-lap, and ground control points placed before the first flight. A properly planned drone mission can produce both a sharp orthomosaic and a dense point cloud from the same set of photos. That way you are never choosing between one and the other - you are choosing which to look at first.